Step 1:
Open the vmware workstation console File àNew à Virtual Machine
Choose
Typical à
Next
Step
3: Give the details and click NEXT
Step
4: Select your virtual machine (vmx) file store location
Step
5: Better to Take 80 GB of Hard disk size for Linux O/S and click
NEXT.
Step
6: Don’t click on “Finish” Button . Click on the “Customize Hardware…” Button for checking or reconfiguration
purpose.
Step 7:
Here you can change your configurations
·
If you
want, Increase the Memory(RAM) size to 2048 MB
or above by clicking on memory
option from left pane window and then change.
·
Click on “New CD/DVD(IDE)” option, check the ISO image file path. If not
there choose the ISO image (Linux software) pathe by clicking on the BROWSE
button.
·
Click
on the “Network Adapter” option, select “Bridged”
option.
·
Now
click on OK button at bottom.
·
Now you
can find the virtual machine name “Redhat Enterprise Linux 5 64-bit” which is
given in starting steps.
Step
8: Power on the virtual machine
Step
9: select Skip and press Enter.
Step
10: Next
Step
11: Next
Step
12: Next
Step
13: Skip
Step
14: select Yes
Step
15:
·
Select
“Create Custom Layout” option from the
drop down list.
·
Uncheck
“Review and modify partitioning layout”
·
and then
click NEXT
Step
16: Delete all the Partitions if you have any by clicking the DELETE button.
Step
17: Then create new partitions list as per need by clicking the NEW button.
Step
18: better to take the partitions like
this
/(Root) -- 10000
/boot -- 6000
/tmp -- 6000
/home -- 10000
/swap -- (Double of your RAM size)
/u01 -- 15000
/u02 -- 15000
/u03 -- 10000
·
To
create these above new partitions Click on NEW button select or type (if not
there) mount point from the drop down
and give the size and click on OK button.
·
Follow
below steps shown in images.
Step
19: After creating all required partions as shown above, then simply click on
NEXT button
Step
20 :Next
Step
21: Configure network later if you want to do, you can configure now
Step
22: select timezone
Step
23: root password
Step
24:
·
Select the
option below “Ccustomize now” to install
the softwares required
·
Then
from next window select all applications and then OK.
Step
25: Click NEXT
Step
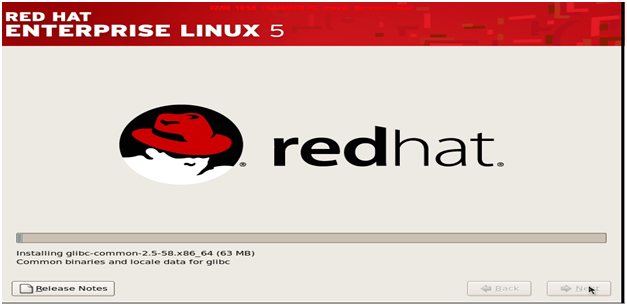
26: Linux Installation Process Starts…
Step
27: Installation Done reboot the machine
Step
28:
Successfully done and reboot
the machine


No comments:
Post a Comment